Using My Room in Voyant Connect
Group communication is easy to manage in Voyant Connect by using the My Room feature.
My Room
Click the house icon in the profile section to start a My Room tab.

A new tab will open ready for you to add other users.
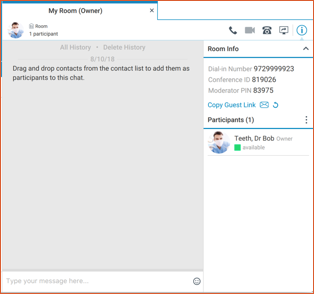
Calling the Conference Bridge
Once you have the conference bridge information filled out, the calling icons are enabled. The video icon will remain disabled for group sessions as video conferencing is not supported.
With the conferencing information filled in, just click either of the phone icons to initiate a call to the conference bridge. The client will wait a couple seconds, then dial the Moderator PIN for you. When you add participants to your My Room, they will be able to click the phone icons as well, but their clients will dial the Conference ID (participant PIN).
Adding Contacts to Your My Room
To add contacts, drag them from your contacts or from the directory and drop them in the chat area. The member list will continue to grow as you add contacts.
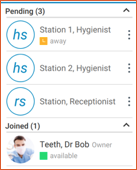
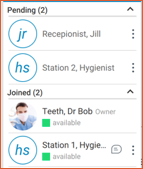
The other uses will see a pop-up message that will indicate you want them to join your room. As users join, they will move from the Pending list to the Joined list. When you type chat messages, all users will get them, and all users can respond.
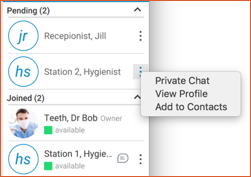
The three vertical dots to the right of each name provide additional options, such as holding a private chat or adding the person to your contacts if they are not already there.
The Chat window will contain the full chat session between all the members of your group chat.
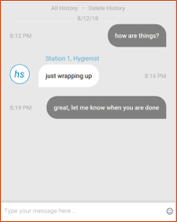
Other users can also join your My Room by clicking on your profile information and clicking Join Room.

Inviting External Guests to Your My Room
You can also invite external participants to join your session. The Room Info section provides links to generate an email with the session information, copy the guest link to the clipboard or to generate a new guest link.

If you copy the Guest Link to the clipboard or generate an email, the information contains the Conference Bridge details, a link for internal users are the Guest Link, which is an https URL, that anyone can use to join your session. The other users simply need to enter the link in their web browser to join. They will be presented with login field in which they enter a first name and last name to login.
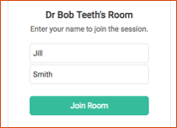
As each external guest joins, you will get a pop-up request letting you control who you add to the room.

Click Accept to allow the guest to join. If you miss a pop-up, the lists of pending requests also show in your Pending list with a Check or X icon. Just click the Check to allow this user to join your session.

If you have a larger number of pending requests, the extra menu available on Participants allows you to accept or decline all pending requests at once. You can also dismiss any participant as well as get a list of the attendees.
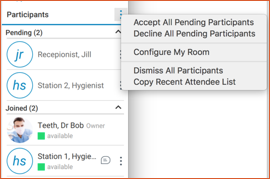
Guests are able to interact using their web browser just like other users, including chatting and viewing screen shares. Once you accept, they get a brief message indicating whether their browser is supported and what features are available.
NOTE: Google Chrome is currently the only supported browser. However, the features below are not currently supported in the browser.
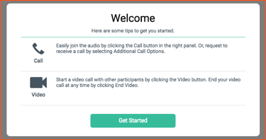
Once the user clicks Get Started, the right-hand side of the browser window will show calling information and options, along with the current participant list.
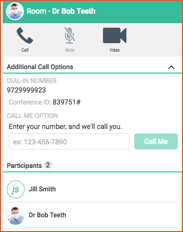
NOTE: Currently, the Call and Video button are enabled, but are not supported. The ability to have the system call a guest directly is also not supported.
However, the guest can call the Dial-in-number and enter the Conference ID to join the audio bridge.
When a guest closes the browser tab their sessions was open in, you will get a notification in your chat session that they have left the room.
My Room Screen Share
The screen share option is also supported in your My Room just like it is for individual conversations. This allows your client to be used to do small group presentations or training session. Other users, including guest users via their web browser, will be able to see your shared desktop or application.
The same controls are available to pause, stop, change application or collapse the preview. See the article on Screen Sharing in Voyant Connect 22.5.
