
STEP 1: Prepare
Before you can configure your CCP in Control Hub, you must procure PSTN services from Inteliquent.
Before proceeding to Step 2, have all your new assigned telephone numbers and ported numbers available. Also, be sure to coordinate your porting dates with Inteliquent, as your ported numbers will not be active until they complete the porting process. Verify that you have enabled your Cloud PSTN services for both incoming and outgoing calls.
STEP 2: Provision
In Control Hub, launch the First Time Setup Wizard (FTSW) or Add Location function under Services. Simply select “Cloud Connected PSTN” and your preferred PSTN Partner from the drop down. Add your telephone numbers obtained from your CCP Provider for this location and complete your location setup.
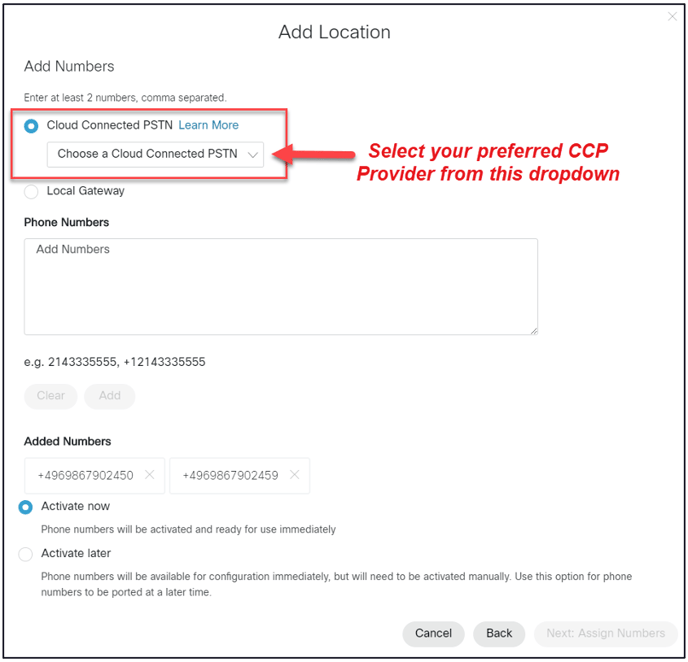
- You will need to add a minimum of two numbers when you create your Location. Additional numbers may be added to this location at a later time.
- Once you create your location and associate it with a CCP Provider, your outbound calls from that location will immediately be routed by Webex Calling to that CCP Provider.
- You may change the CCP Provider for a location at a later date by editing the location in Control Hub. Further, edit the location to change your existing PSTN from a local gateway to Cloud PSTN.
STEP 3: Place and Receive PSTN Calls
You are now ready to place and receive PSTN calls with your Webex Calling service using Inteliquent.
Remember that you are responsible for providing the CCP Provider current address information to assure your emergency services (E911) are enabled. These changes are made in the Inteliquent Cloud Connected Portal.